For this portion of the lab build, we will be installing Oracle’s VirtualBox. VirtualBox is a free hypervisor that allows us to create virtual machines for the lab without the need for multiple physical computers or servers.
NOTE: VirtualBox may not be fully compatible with Apple silicon-based Macs. I have not tested this, but Oracle does have a macOS/Apple Silicon hosts package. My hypervisor of choice for Apple silicon-based Macs is VMware Fusion.
Bonus points to Broadcom for making VMware Fusion free for personal use.
1. Download VirtualBox
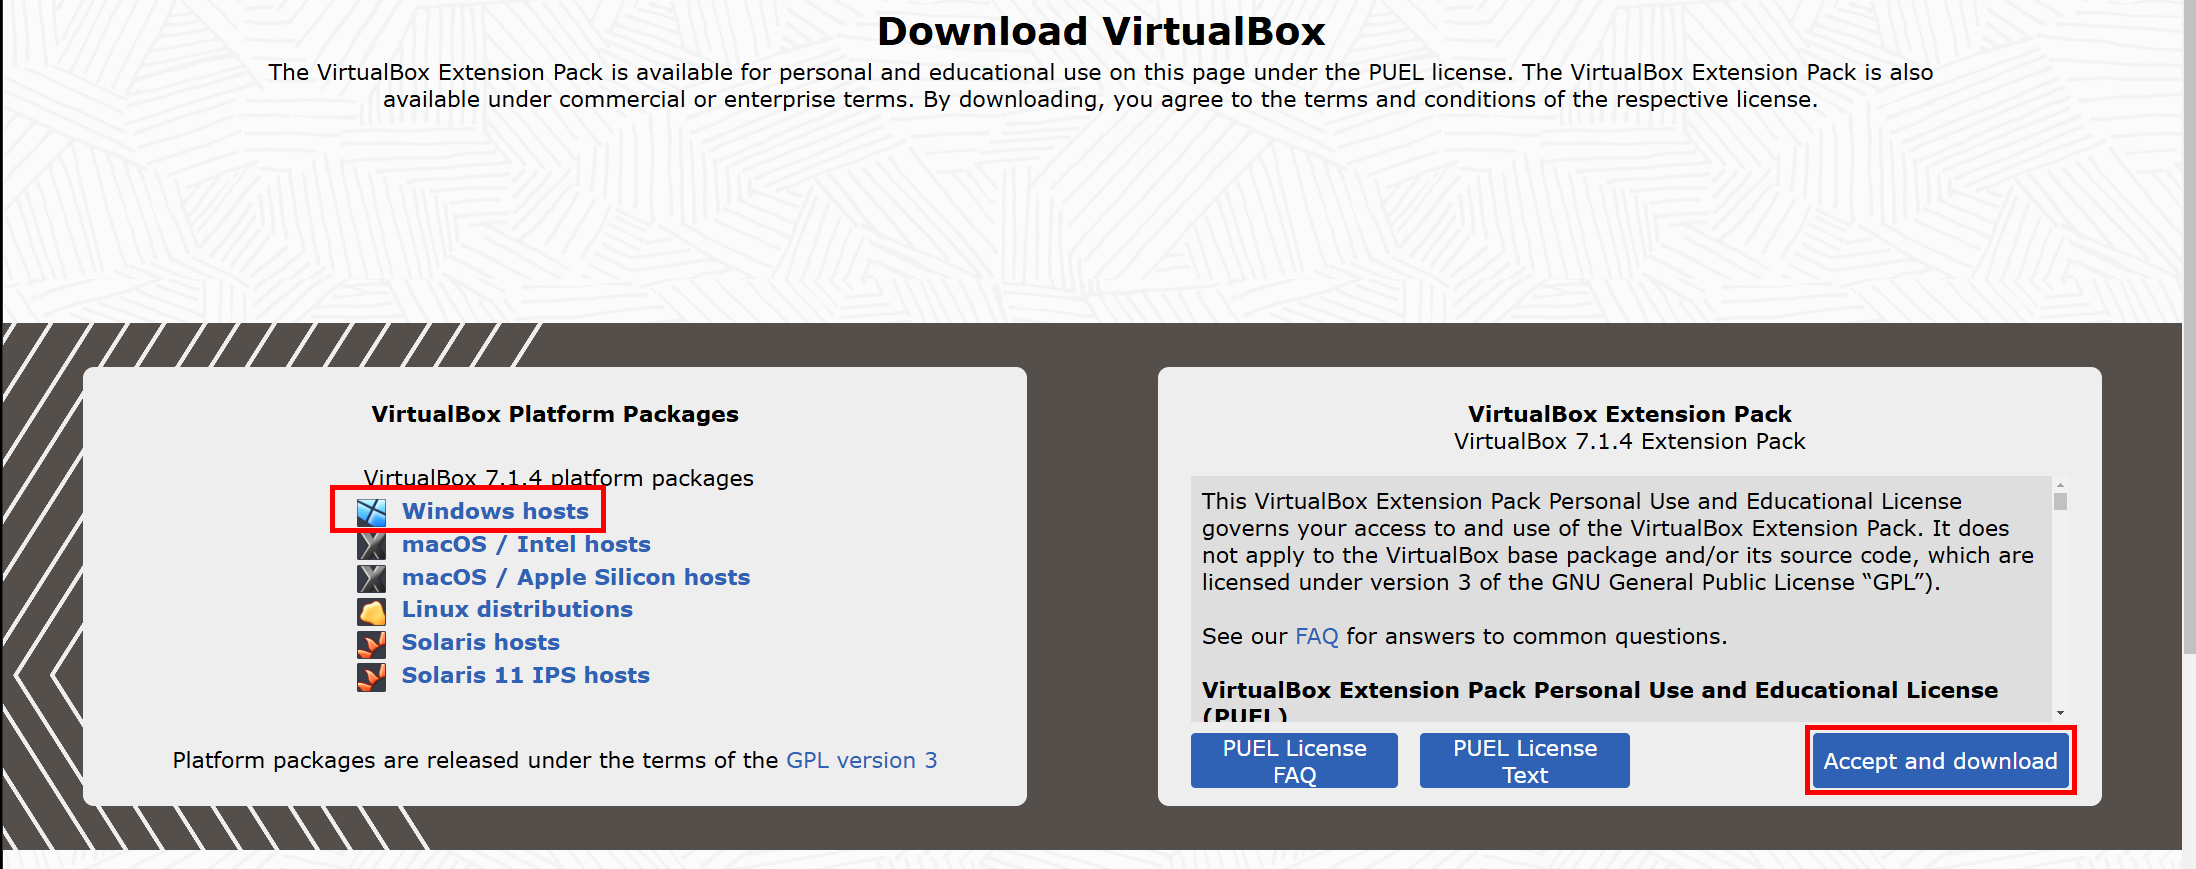
Head on over to https://www.virtualbox.org/wiki/Downloads. Download the Windows hosts package and the optional Extension Pack.
The extension pack provides additional features such as USB 2.0/3.0 support, Remote Desktop access, and disk encryption. While the extension pack is optional, I highly recommend including it.
2. Install VirtualBox
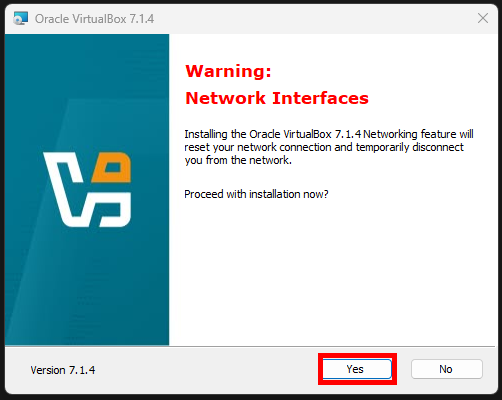
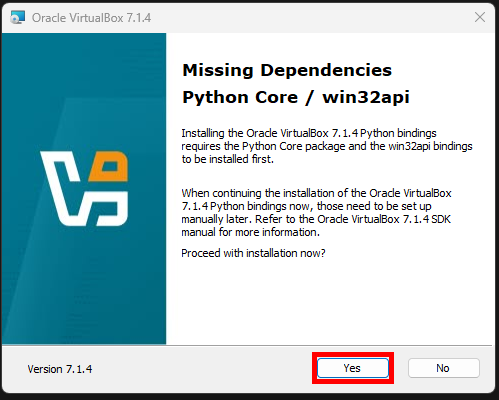
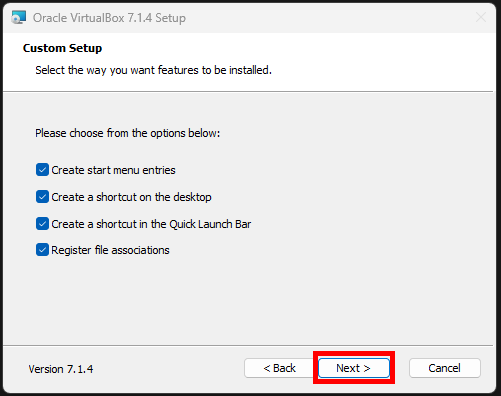
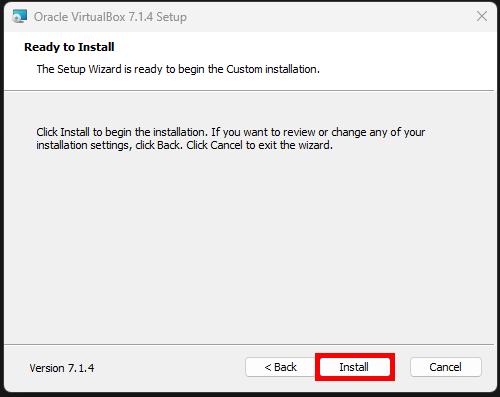
Now that we have the package downloaded, let’s go ahead and install it. First, we’ll run the VirtualBox-7.1.4-165100-Win.exe executable.
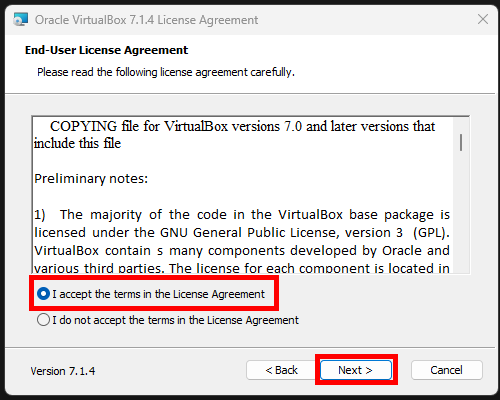
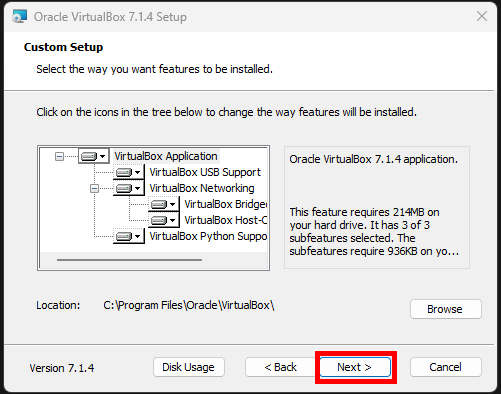
Click through the installer.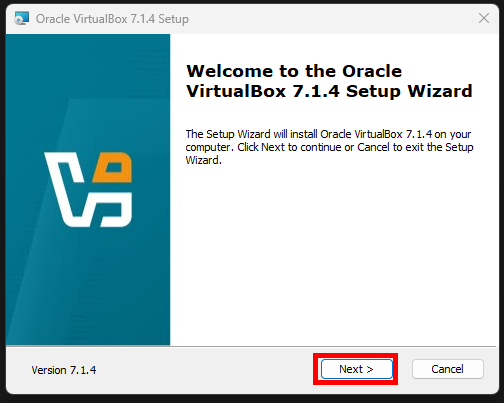
Now that we have the base application installed, let’s go ahead and install the optional extension pack. Run the Oracle_VirtualBox_Extension_Pack-7.1.4.vbox-extpack package.
Click through the installer.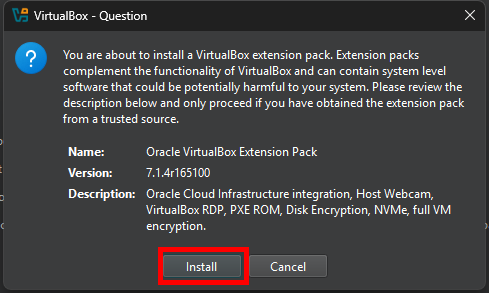
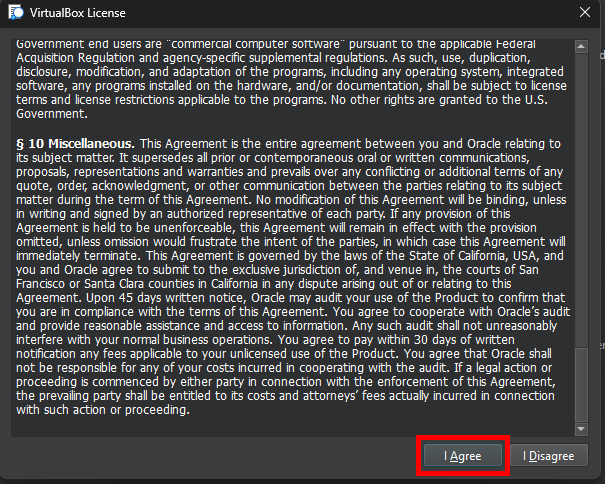
Scroll down to be able to click on “I Agree.”
All finished!
Congrats, we’ve now successfully downloaded and installed our hypervisor. Next up is configuring our first virtual machine in the lab!
